
Yoga Hip Openers for Everyone
/For those of us that spend large amounts of time sitting during the day - commuting (remember when we did that?), at the computer or desk, etc - it’s easy for the muscles around the hips to get tight. This can lead to discomfort in the hips of course, but can also affect other areas - when muscles in the hips are tight, it can affect how we stand, our gait, the way we move and transition between positions (sitting to standing and vice versa). These changes can impact our knees, our low back, even as far down as our ankles and feet. It’s also said that we hold a lot of our stress in our hips, and that by easing the tension in our hips, it might help with stress we didn’t even realize we were holding onto. So suffice it to say, keeping the hips free of as much discomfort and tension as possible is important.
Yoga asana is full of options for opening up the hips. You can find hip openers in seated poses, standing poses, standing balances, and even inversions. For this post, I wanted to include hip openers that I felt could be practiced at home, and (many of which) have multiple variations, so that you can adjust to what feels best in your body in the moment. While none of these poses require props (other than a mat ideally), you can certainly use them if you have them, and I’ll try to offer some places where you could add them in.
Baddha Konasana
Baddha Konasana, or bound angle pose, is a great hip opener to start with because it’s a seated pose, and there aren’t too many “moving parts” (i.e. right hand here, left foot there, etc).
Sit with your hips evenly on the floor (or a blanket), knees bent toward the ceiling, feet flat on the floor.
Bring the soles of your feet together, letting the knees fall gently out to the sides.
Your feet can be closer into the body, or further from the body, depend on what feels best to you.
Inhale lift the chest; exhale hinge forward at the hips, keeping the sits bones on the ground, the back flat, and the neck long.


Supta Baddha Konasana

This pose is a great way to start or end (or both) your practice. It’s like baddha konasana, but you’re lying on your back. Start lying on the back, knees bent, feet flat on the floor. Bring the soles of the feet together, letting the knees gently fall out to the sides. Arms: I suggest by your side with palms up, overhead, on the heart and/or belly.
If you have props, you can put a blanket or block under each thigh/knee. This helps bring the ground up to meet you, and can help with feeling strain on the knees or hips in this pose. This can be especially helpful in the beginning of practice, when the muscles and joints may not be as warmed up and therefore feel tighter.
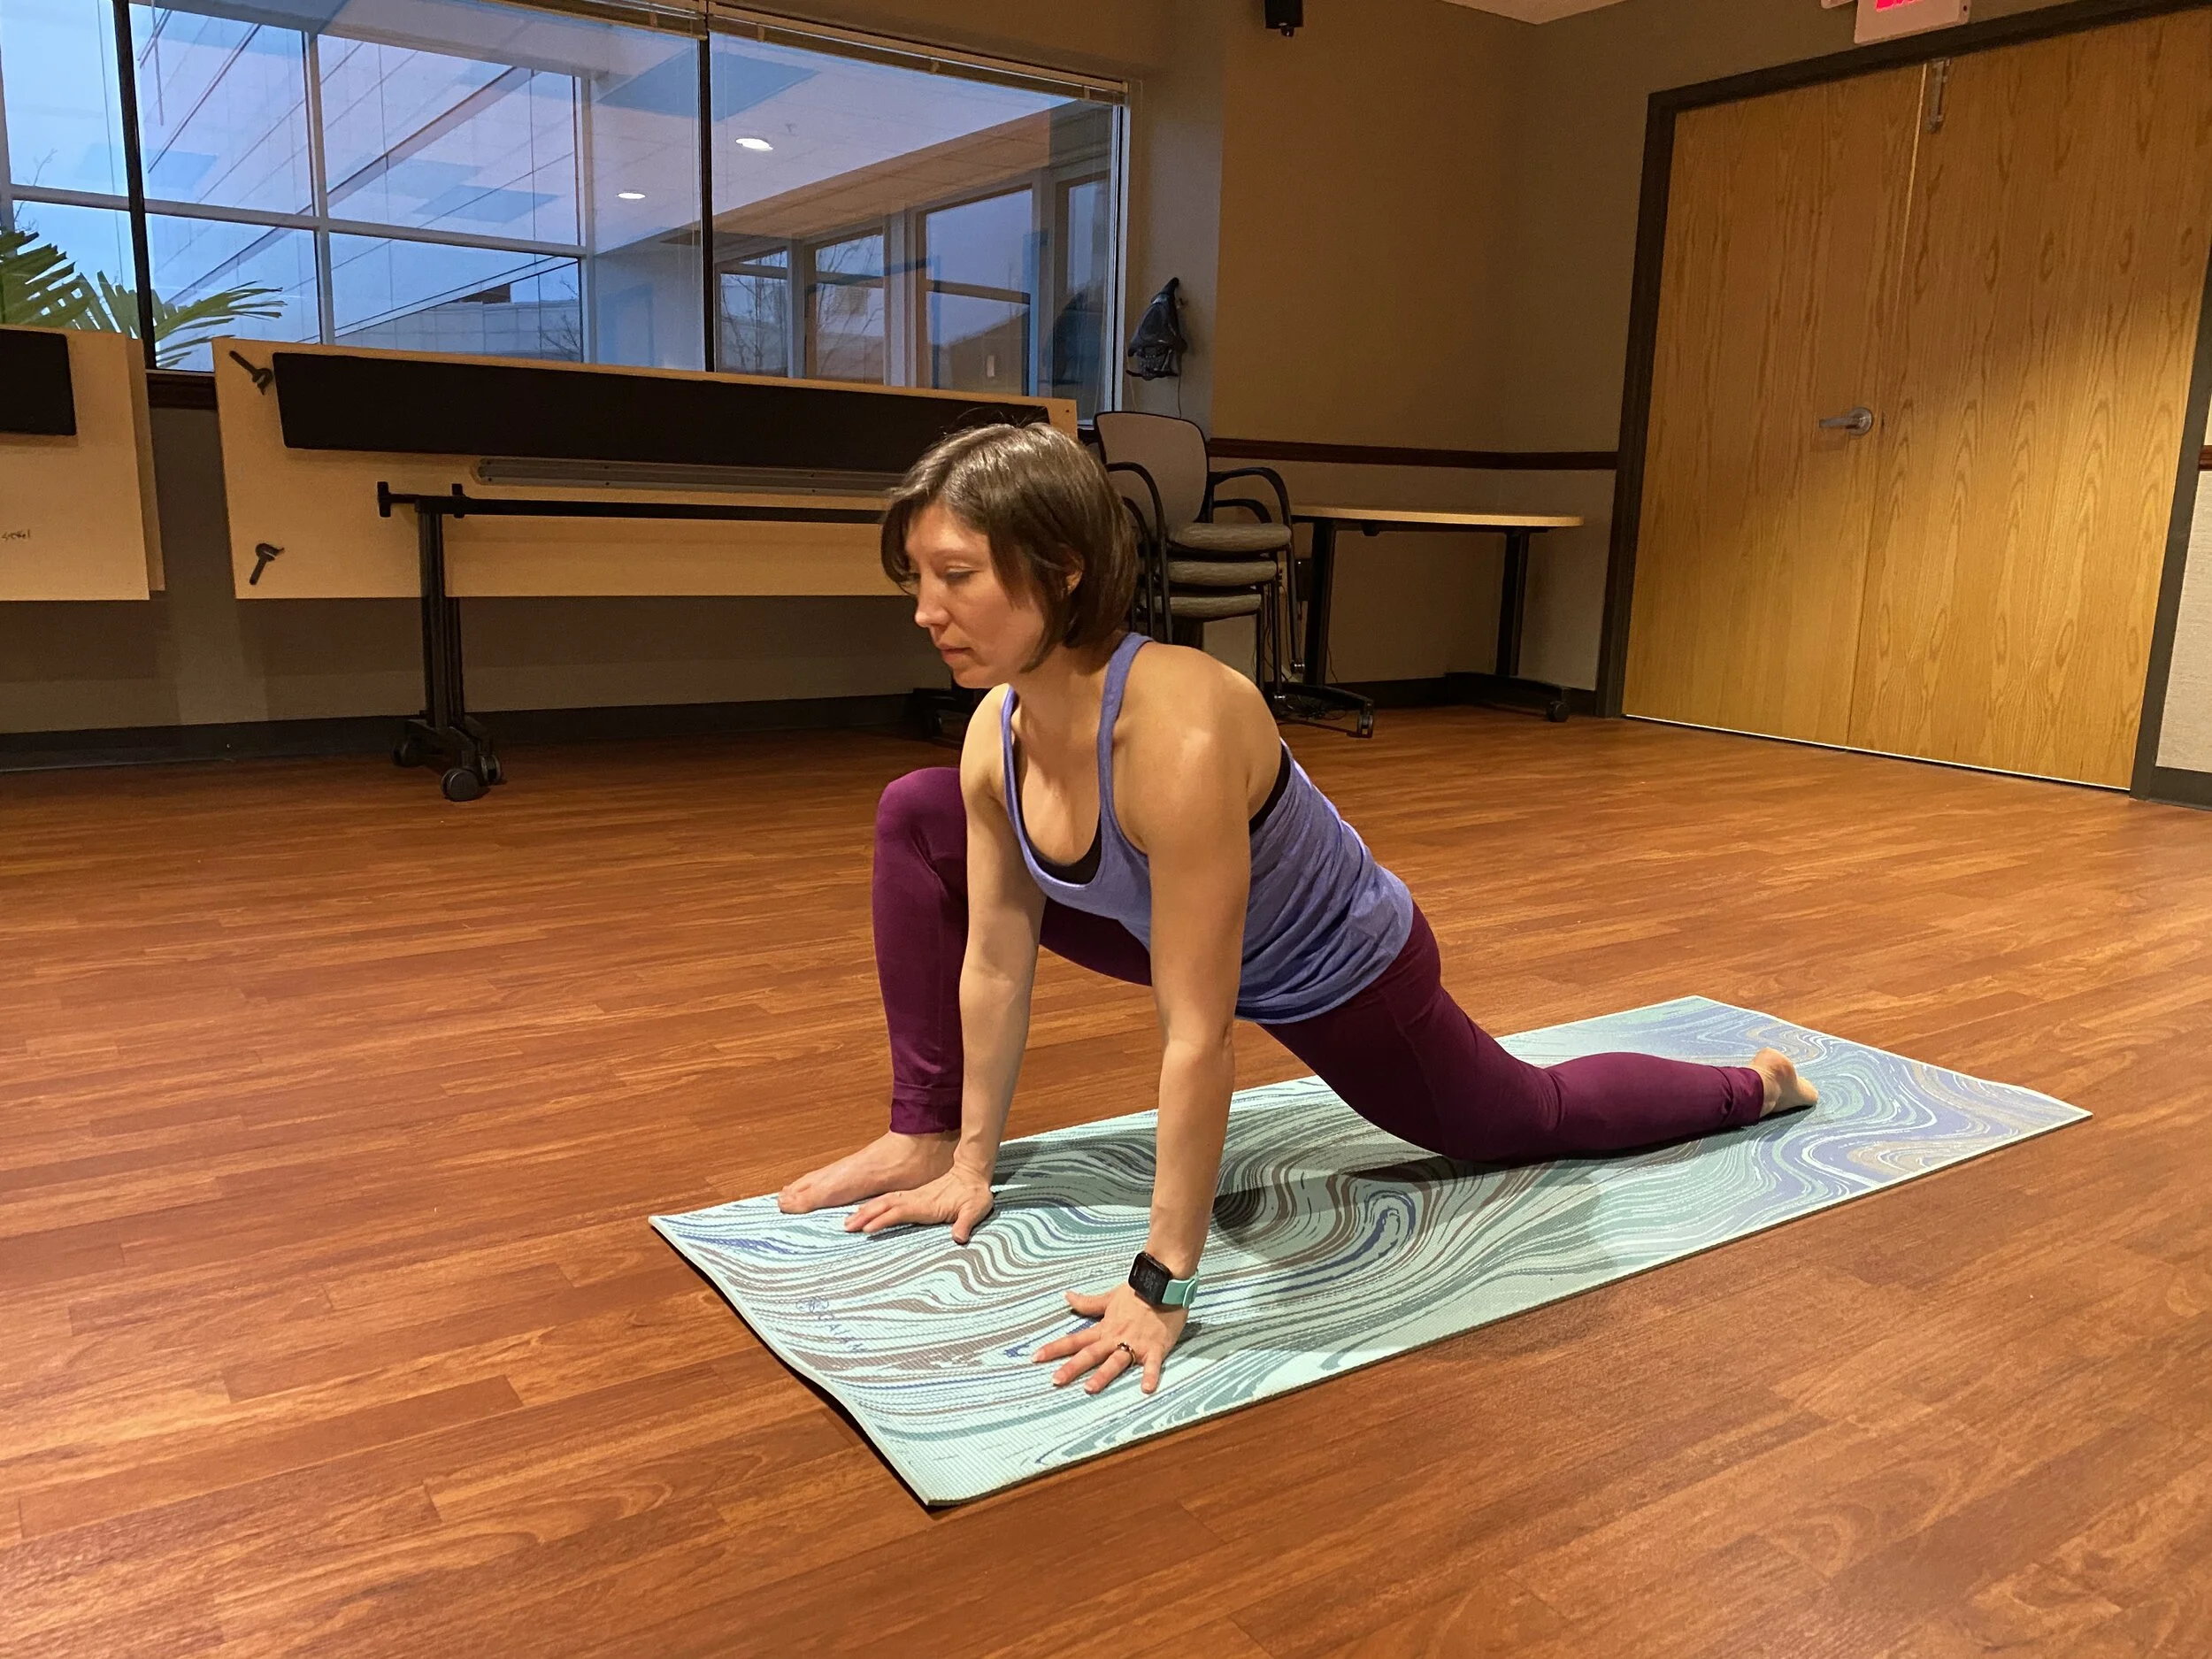
Lizard
Lizard is a lunge variation with an emphasis on opening up the hips, chest, and fronts of the shoulders.
From lunge, wiggle your front foot to the outside edge of the mat.
Bring both hands to the inside of the foot.
Lizard variations: back knee up or down; on hands or on forearms; coming onto the outside (pinky toe) edge of the front foot.

Lizard with back knee lifted, on forearms
Lizard with back knee down, palms on the ground.

Photo Credit: Aly Gaul
Malasana
Malasana or Garland Pose (some people call it yogi squat) can be tricky on the knees, so if going all the way in doesn’t work for you, you can stop lowering down about half way and do a catcher's squat instead. A good guide is your heels - if they lift off the ground in malasana, raise your hips back up to a catcher’s squat.
Bring feet as wide as the mat
Begin to lower the tailbone down toward the ground
Keep the chest open; hands can come to heart center
Pigeon
Pigeon, or (say it with me now) Eka Pada Raja Kapotasana, is one of the most diverse hip openers in my opinion, because there are numerous ways to do this pose - upright, with a bind, folding forward, supine (all pictured here), and while it’s not technically the same pose, Standing Figure Four is basically a standing variation of Pigeon. There’s also a “flying” version (an arm balance) that isn’t pictured, but if you really want to see what it looks like, you can view me attempting it here. In fact, this video also includes Standing Figure 4) .
For purposes of this post, I’m going to describe the upright/folded forward versions. I generally enter into pigeon from either a 3-legged dog or table, though there are other ways. I’ll describe as if you’re going in on the Right side.

Pigeon: Upright, With bind, Folded, Supine
Bend the right knee toward the chest
Bring the right shin parallel(ish)* with the front of the mat, ankle behind left wrist, knee behind right wrist
Left leg extends straight out behind you (make sure that back foot isn’t turning in or out)
Hips are as square as possible to the front of the mat.
If you’re staying upright, hands come to the outside of the hips.
If you’re folding, begin to walk the hands forward, possibly coming onto the elbows or bringing the chest toward the ground.
If folding forward, you could also come down onto blocks, a folded blanket, or even a bolster to bring the floor closer to you.
*For many hips, shin parallel to the mat doesn’t work well or is painful. If it’s better for your body, take the right knee wider, towards the edge of the mat, and pull the right heel more toward the mid-line of the body (toward the belly button).

Goddess
Goddess is the only standing hip opener on today’s list, though there certainly are others. I chose Goddess for this post because, while it’s by no means an easy pose, the concept is simple, and it’s pretty easy to grasp from the photo.
Facing the long side of the mat, step your feet wide (wider than hip width)
Heels turn in, toes point to out, toward the corners of your mat.
Arms come to a “goal post” position. Shoulder blades pull together on the spine.
Bend the knees, making sure the knees are going out over the toes (if the knees are inside the toes, turn the toes in slightly).
Navel in and up; low ribs in
Frog Pose
Frog can be a pretty intense hip opener, and it can be a little tough on bad knees, so if you have knee trouble, please be careful with this one. I suggest doing frog facing the long side of the mat, because it allows for padding under both knees. You can always put blankets, blocks, or a bolster in front of you if using props.
Start in Table, and then widen the legs so that they’re wider than hip width
Lower down on the elbows, and let the hips begin to sink down. You may need to gently inch the knees further apart
Knees are bent 90 degrees, so ankles should be in line with knees (behind you). Feet are flexed, pointing toward the outer edges of the mat.
If it’s accessible to you, begin to lower the chest down, arms out in front of you


There are plenty of variations and modifications within these hip openers, as well as different versions. You can add in binds and twists to several of them. You can use props to raise hips or pad knees, or to bring the ground closer to you. There are also plenty of hip openers not included in this list. If you’re interested in more hip openers, or variations/modifications/prop use with these, feel free to ask - I’m happy to offer what I can!